
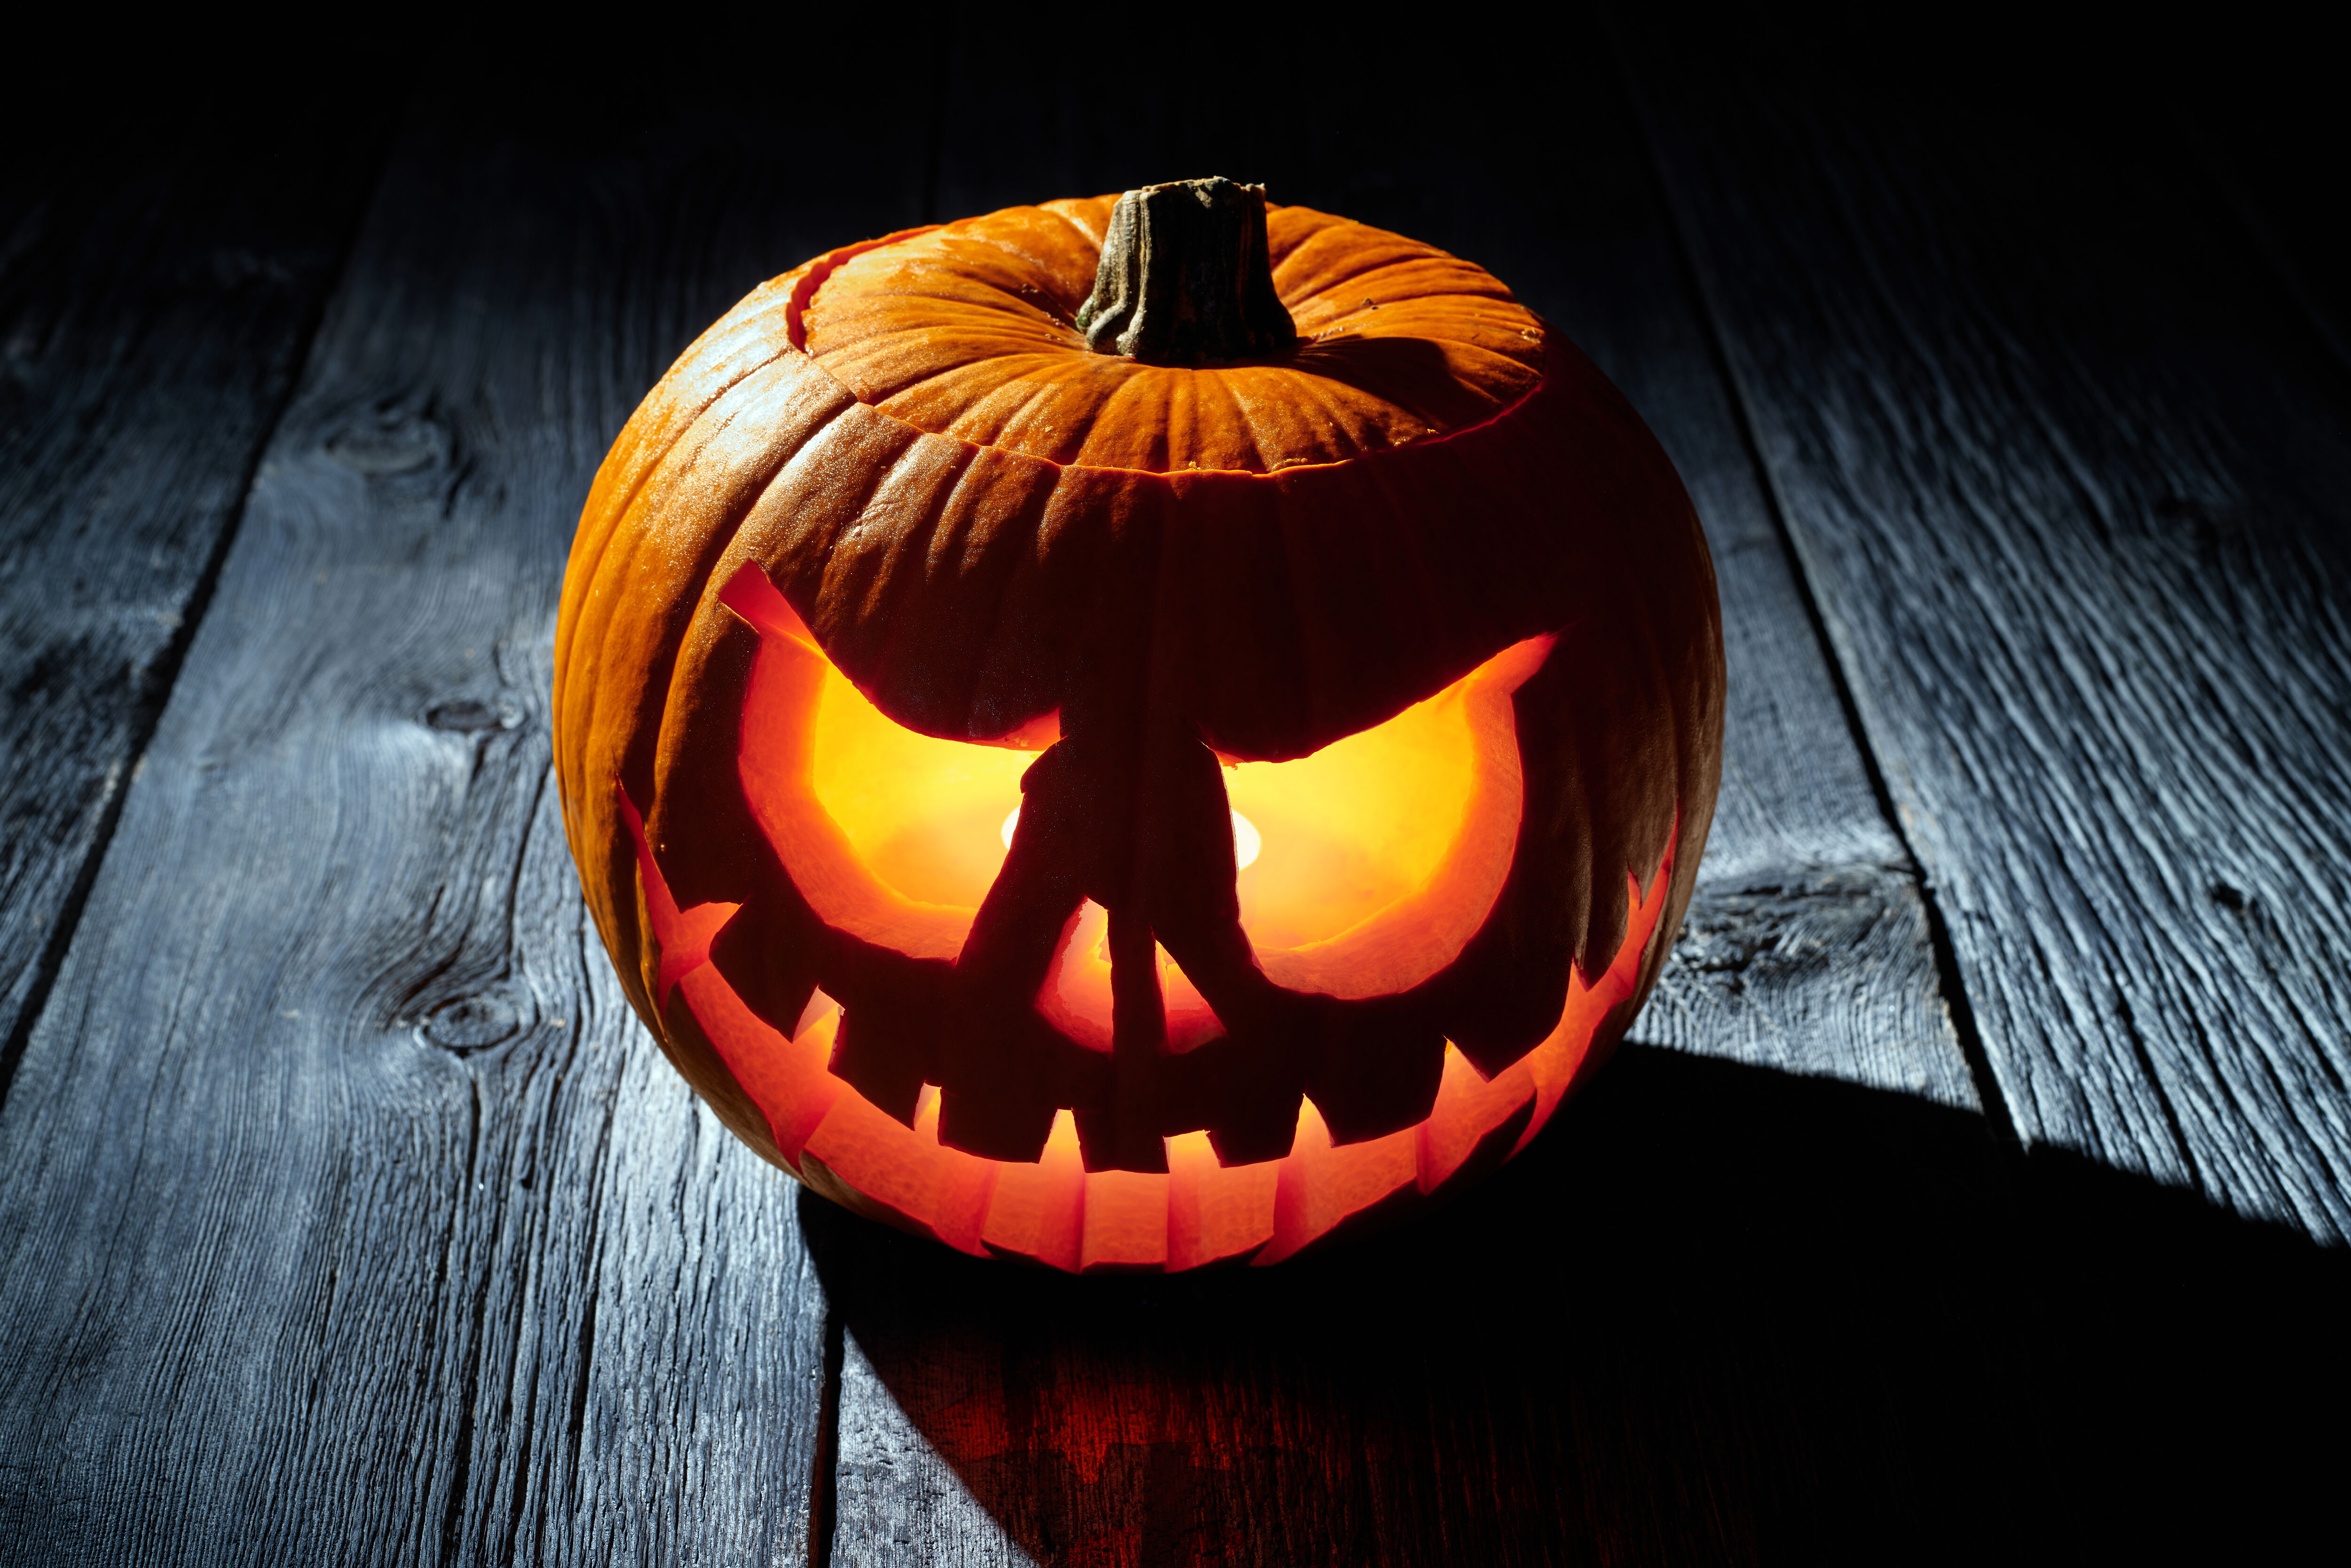
Halloween DIY: How to Carve a Pumpkin
Spooky season is here! And, what better way to get into the Halloween spirit than by decorating your home with a Jack-o’-lantern or two! Not only will you be left with the ultimate Halloween decoration at the end, but pumpkin carving is also a super-fun activity for the whole family that will leave you feeling festive! So, if you’re looking for tips and tricks when it comes to creating the perfect light-up pumpkin, read on to discover our guide…Looking for easy Halloween craft ideas? Follow our guide to making the best Jack-o'-lanterns!

What you’ll need:
• 1 sheet of scrap paper
• 1 pencil
• 1 ball-point or felt-tip pen
• 1 thin, sharp knife or a serrated knife
• 1 soup spoon
• 1 ice cream scoop
• 1 large bowl
• 1 tealight candle
Preparation time: approx. 30 minutes
• 1 pencil
• 1 ball-point or felt-tip pen
• 1 thin, sharp knife or a serrated knife
• 1 soup spoon
• 1 ice cream scoop
• 1 large bowl
• 1 tealight candle
Preparation time: approx. 30 minutes
Whether you opt for a cute design or a scary face, carve your Halloween pumpkin in 8 steps!
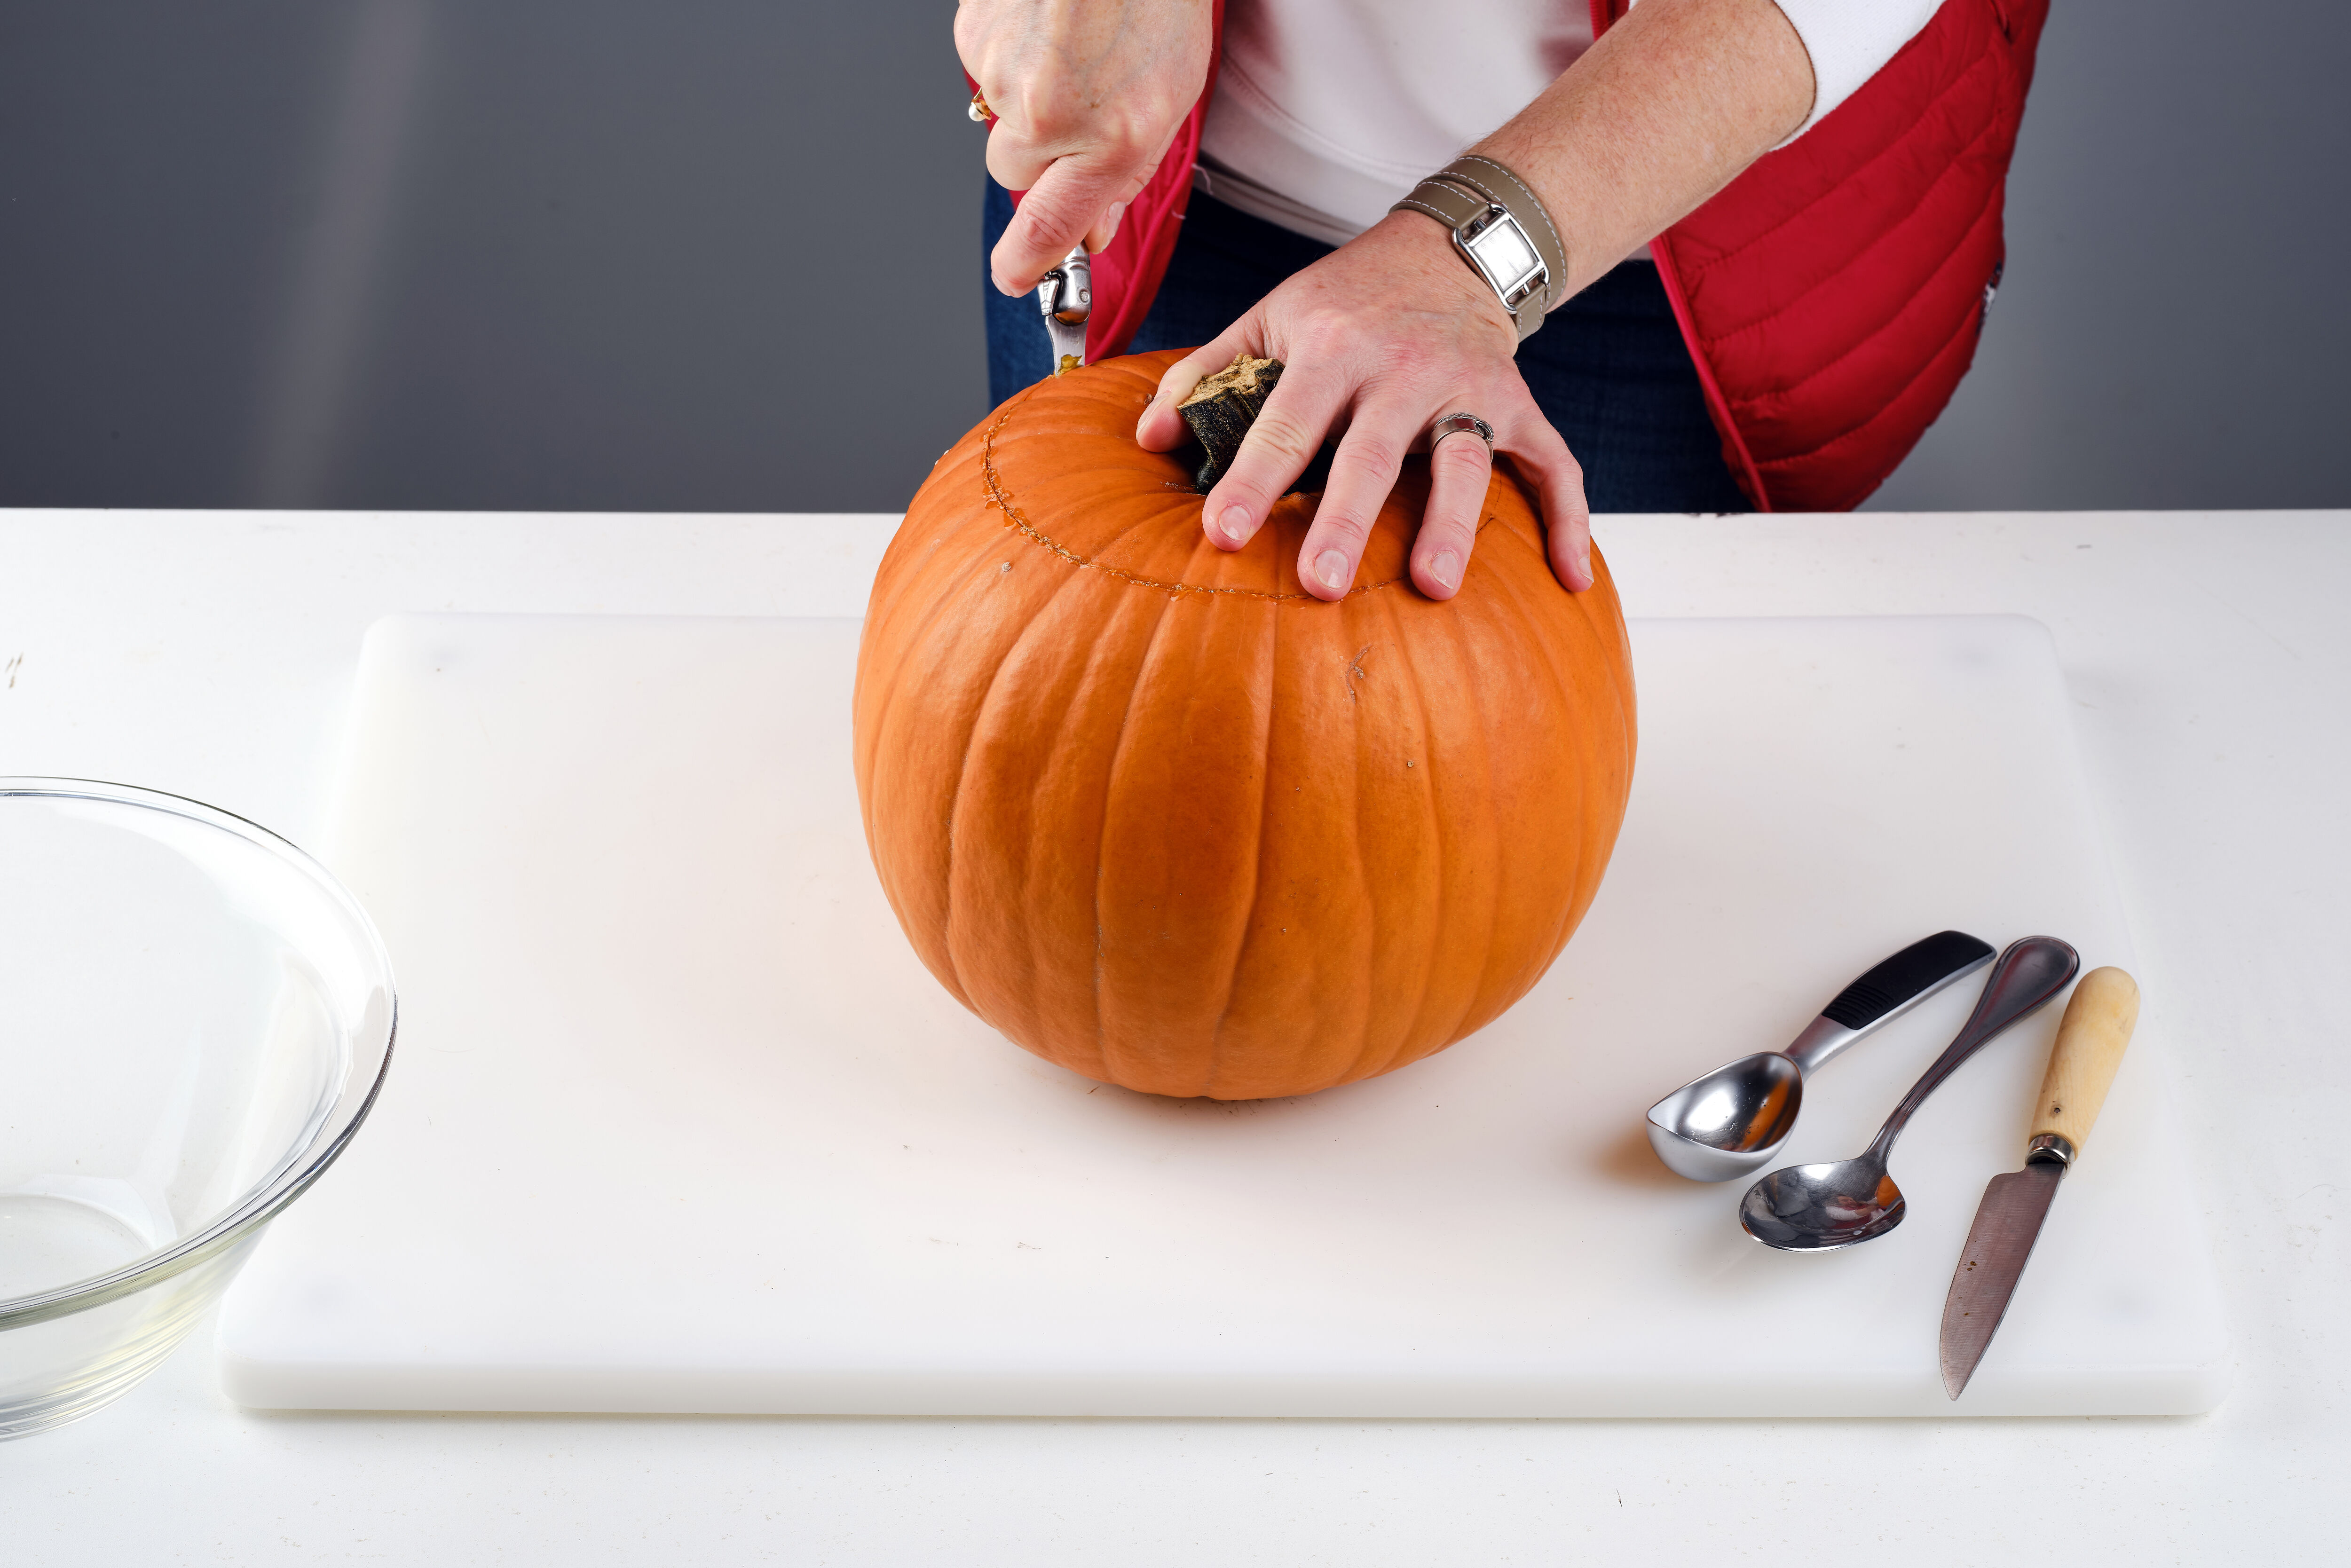
1) If your pumpkin still has any traces of soil on the outside, use a sponge to clean it off. Then, using a pen, trace a line around the crown of the pumpkin, where you plan to create the lid. Insert a knife at an angle into the flesh and follow the line all the way around.
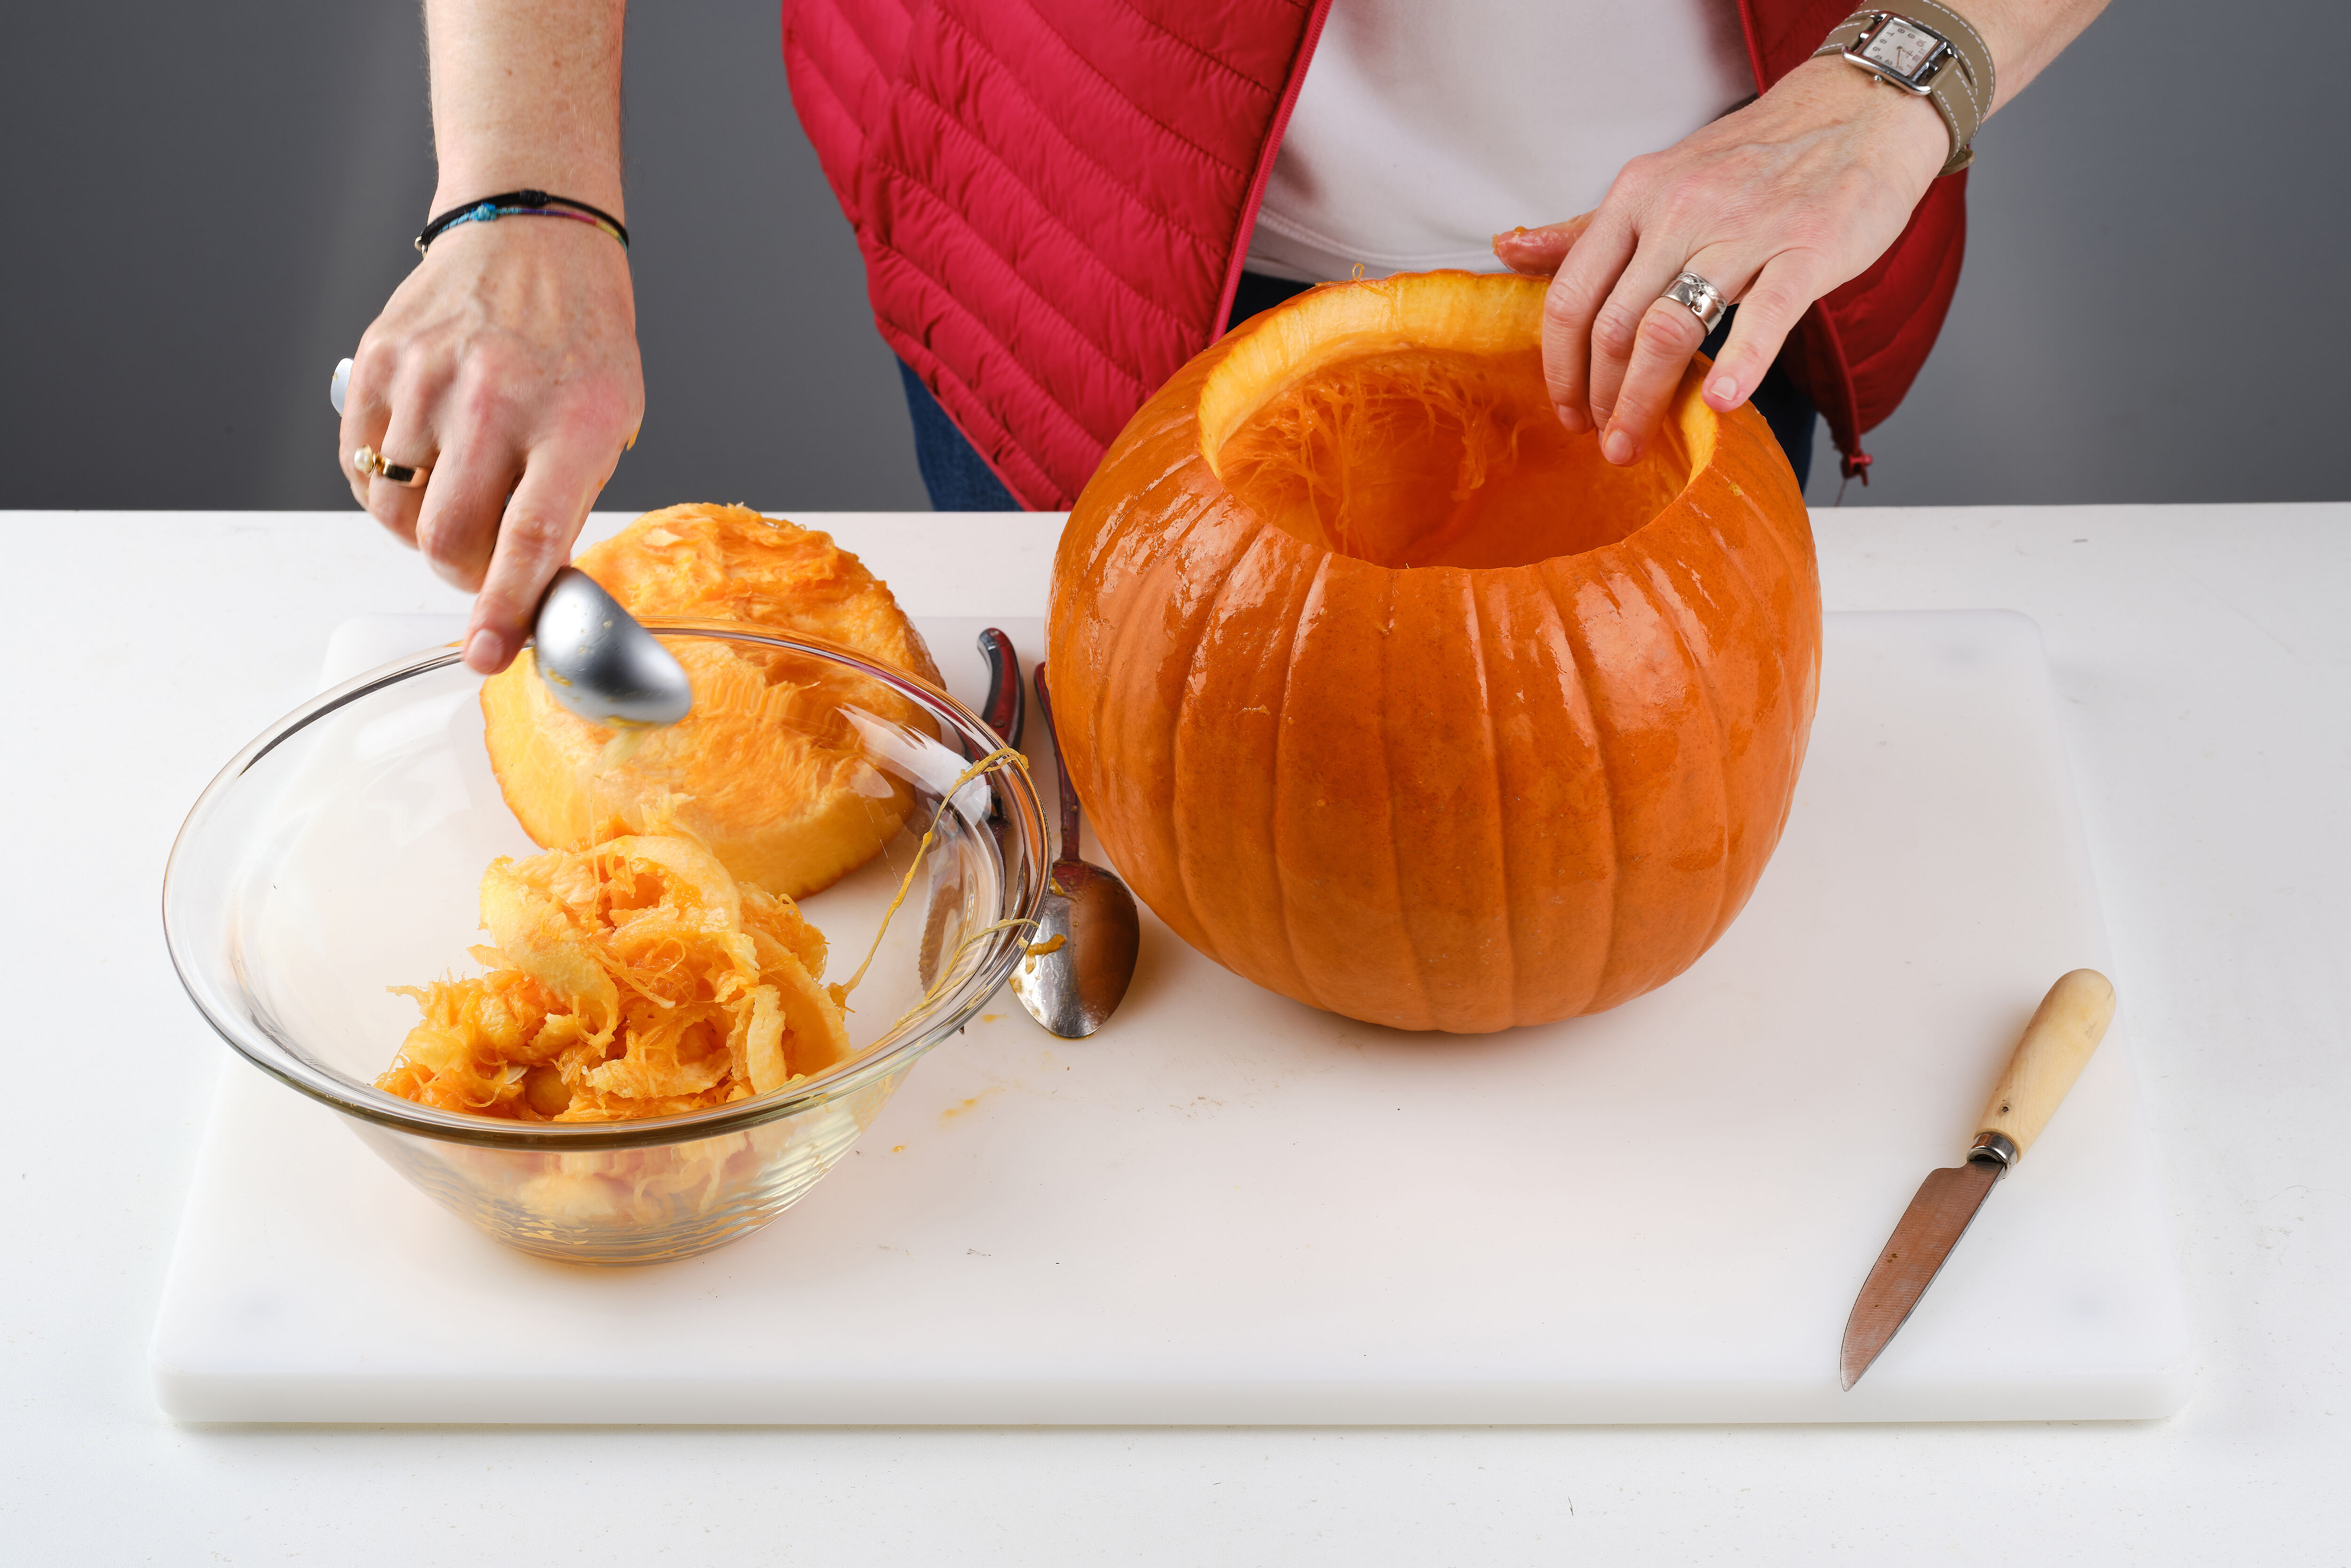
2) Take off the lid you’ve now created, then remove the seeds from the inside of the pumpkin using a soup spoon.

3) Then, using an ice cream scoop, remove as much of the flesh as you can. Don’t forget to remove the flesh from the lid of the pumpkin too! Remember, there is no need to throw away the flesh or the seeds! They can be used in a variety of tasty recipes, be it an autumnal dessert or a hearty soup.
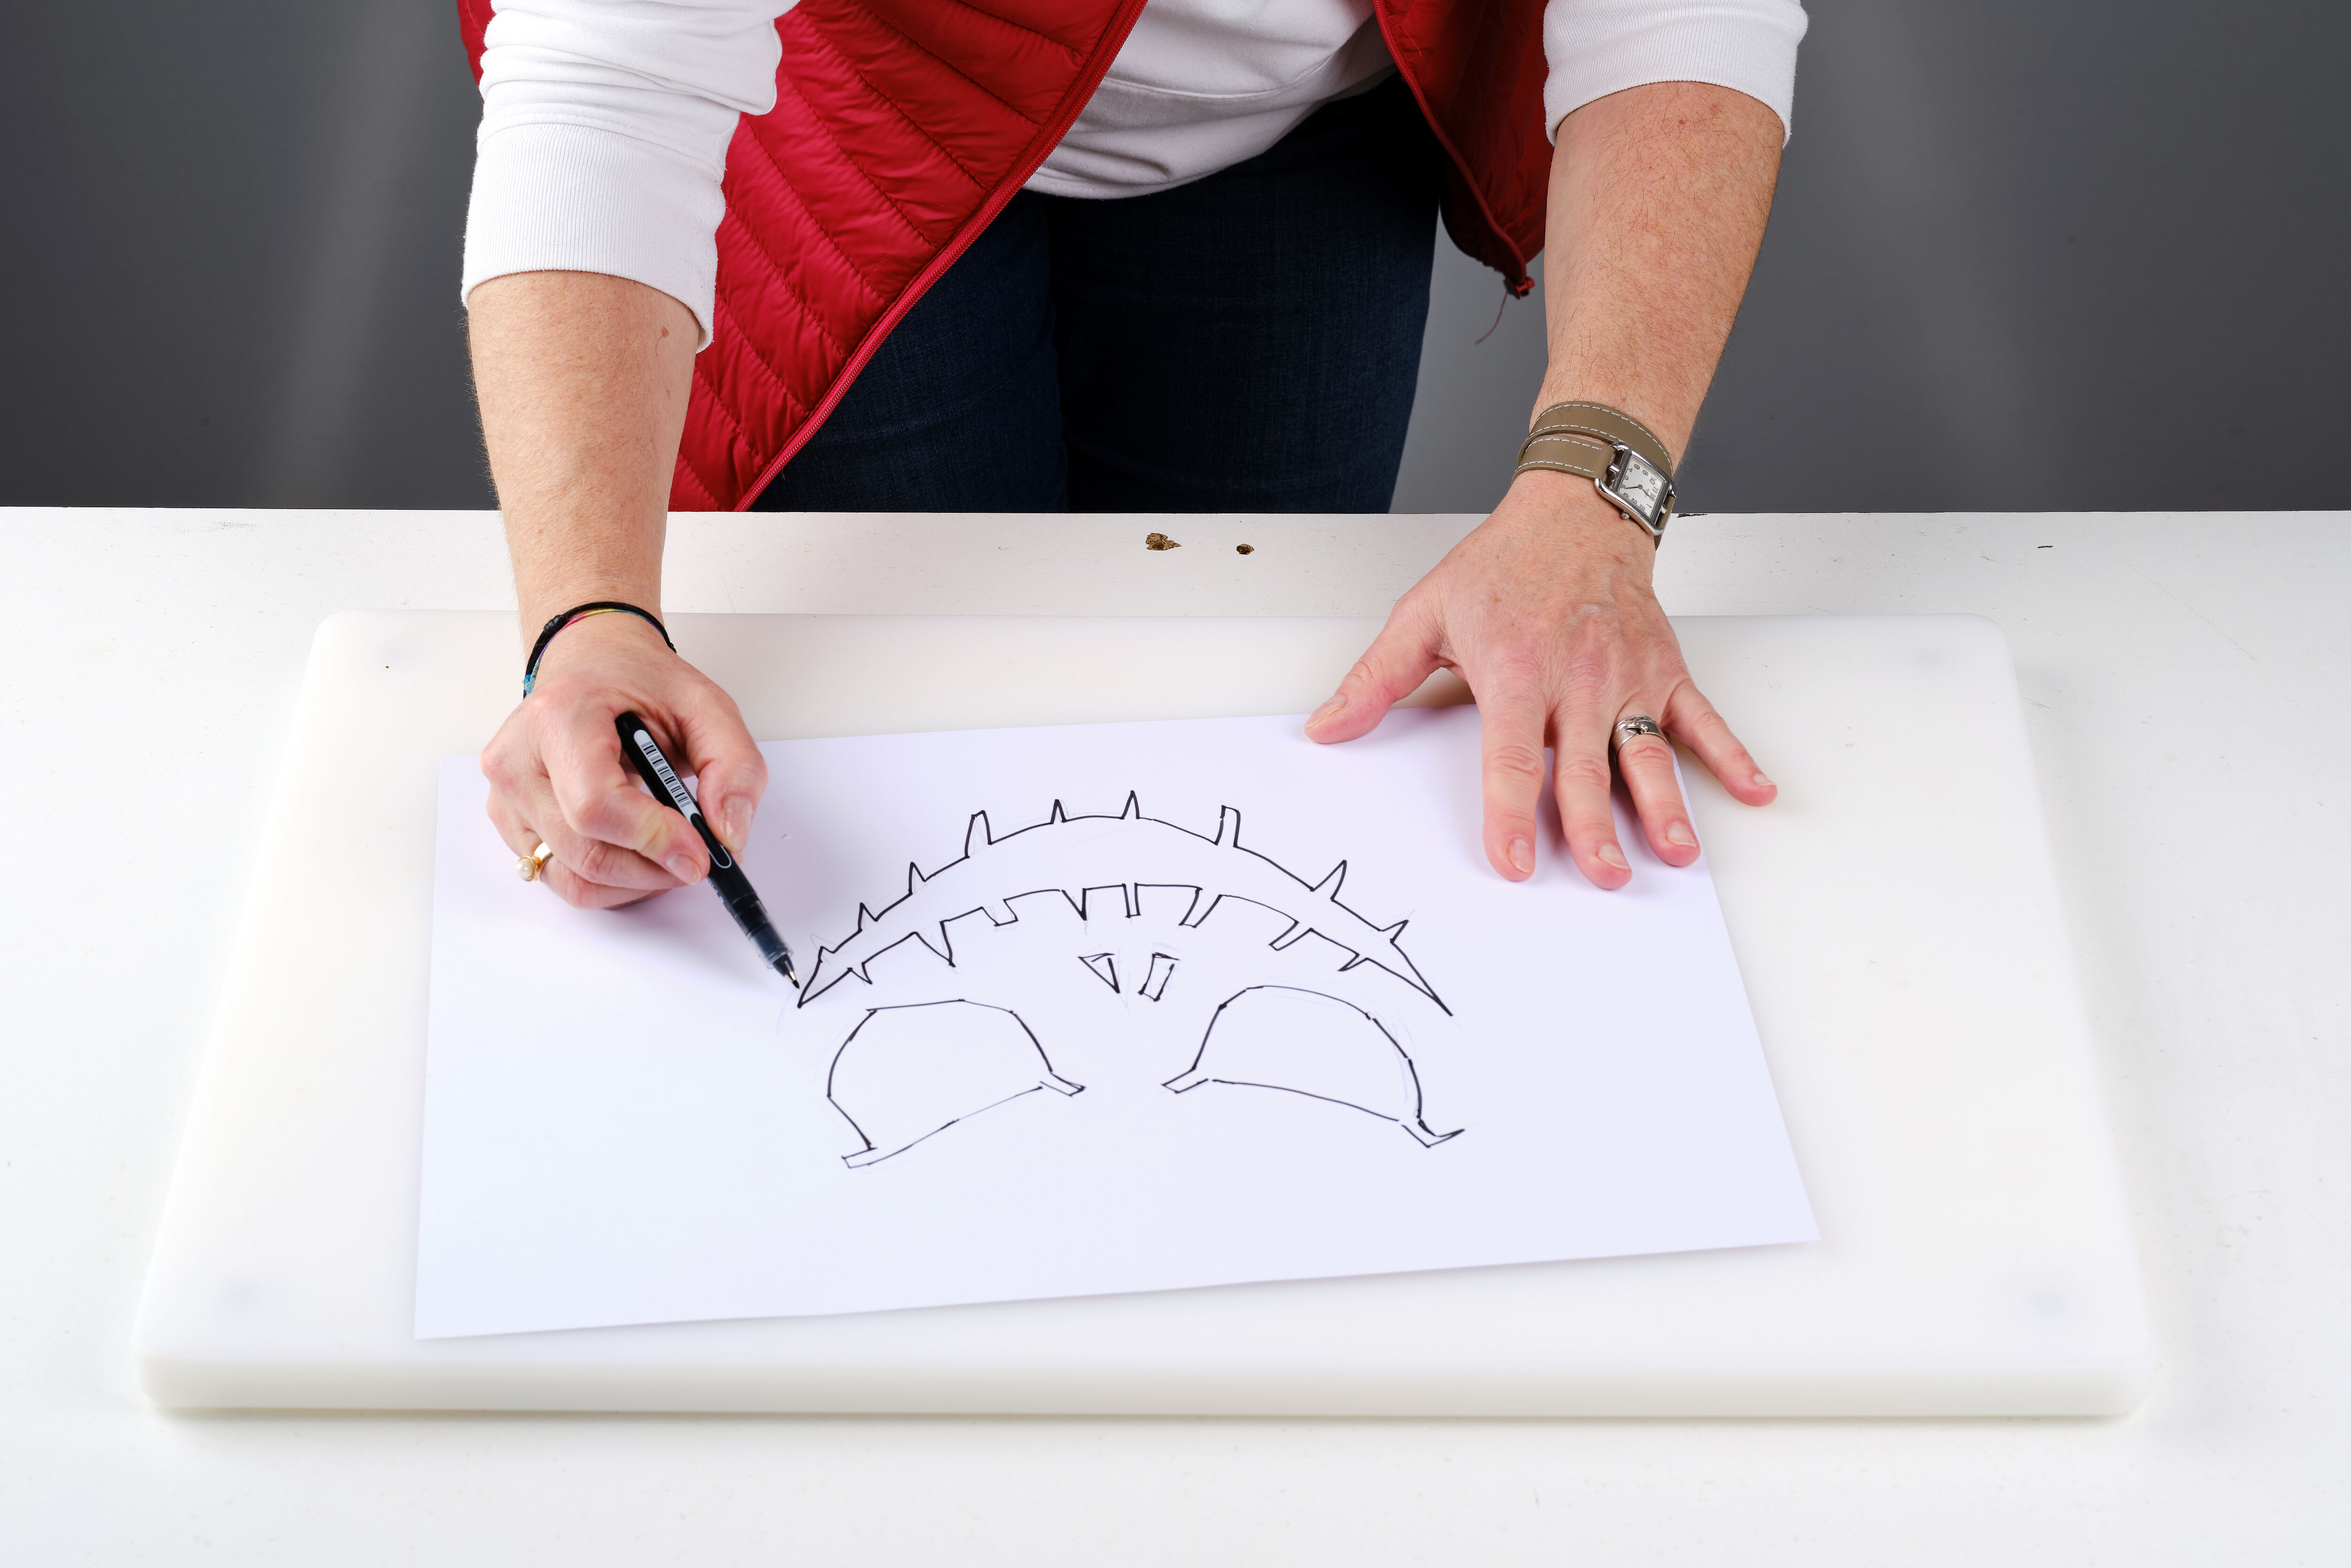
4) Take a pencil and practice drawing the face of your pumpkin on a sheet of scrap paper.


5) Once you’re happy with your design, copy it onto one side of the pumpkin, this time using a pen.
Top tip: if you want to make things easier, you can cut out each element of your paper drawing (the eyes, nose and mouth), and use them as stencils!
Top tip: if you want to make things easier, you can cut out each element of your paper drawing (the eyes, nose and mouth), and use them as stencils!
6) It’s time to get carving! Cut out the largest parts first. You will deal with the small details later.
Be careful when you’re using the knife, always making sure to cut away from you.

7) Carve the finer details, including the teeth and the corners of the mouth and eyes.
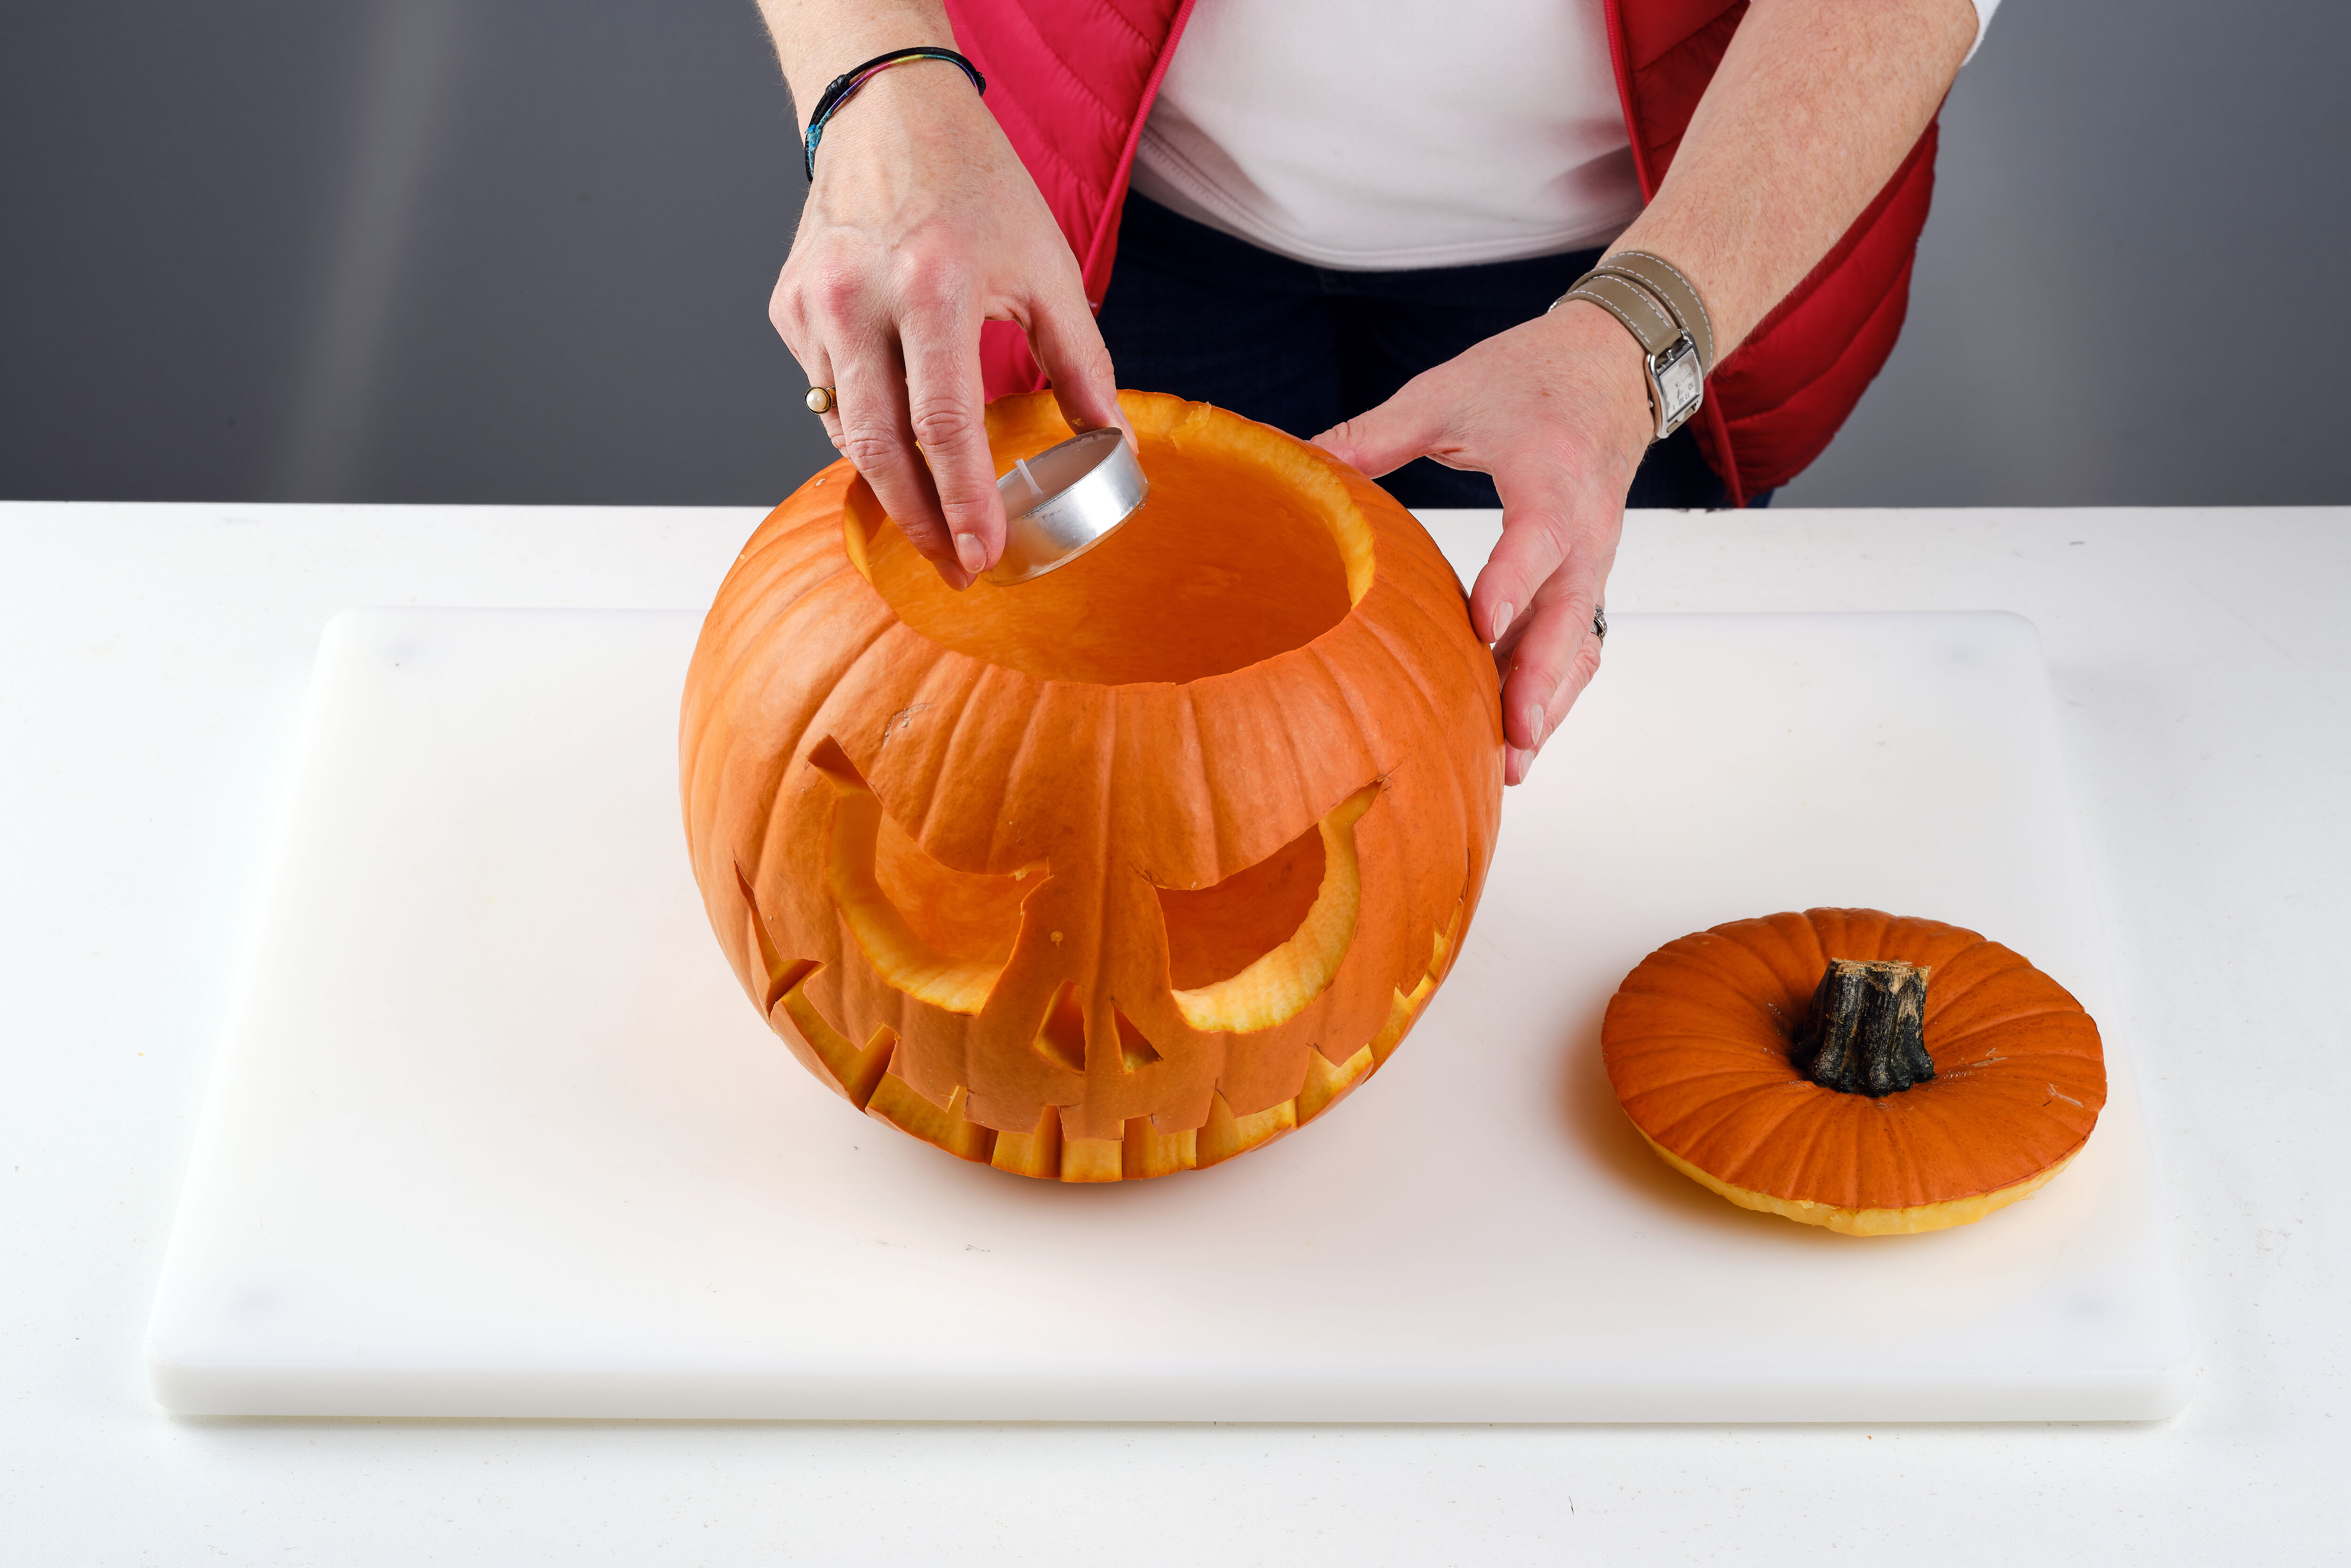
8) Place your tealight candle inside your pumpkin to bring your new friend to life! You can then close the pumpkin by placing the lid back on top. If you're using a wick candle, make sure to keep an eye on the flame, so that it doesn't burn the crown. An LED tealight is always a safe option!
It’s time to display your light-up pumpkin!
And there you have it! Cute or scary, your Halloween decoration is ready to be placed wherever you choose, be it on your front porch for all your neighbours to see, or inside your house on your windowsill! And, if you’re looking for more DIY crafts (without a spooktacular twist), why not check out our guide to creating a plant-based candle?